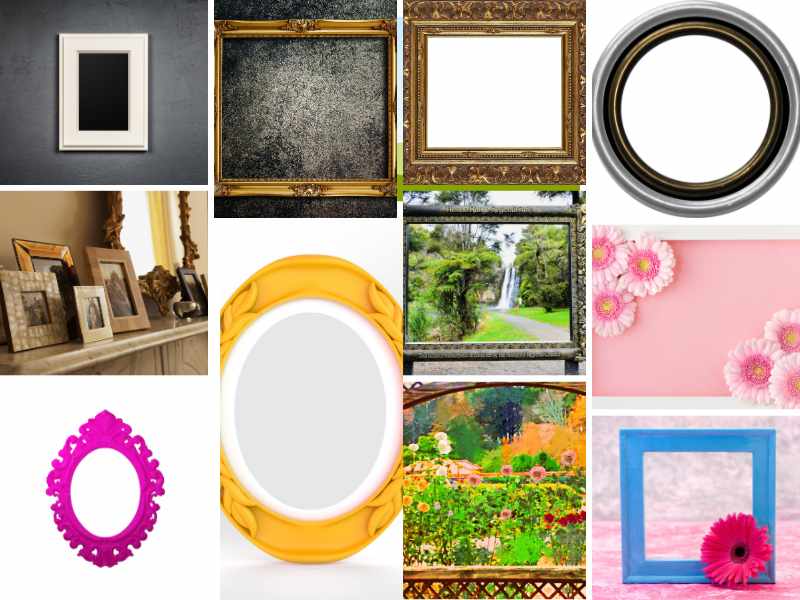
In this post, we will look at 23 creative ways to beautifully personalize your picture frame.
Creating personalized picture frames is a wonderful way to showcase your cherished memories while adding a unique and beautiful touch to your home decor.
Customized picture frames offer endless creative possibilities and also enhance the beauty of your living space with just a touch of your personal and unique style.
From painting and fabric wrapping to adding glitter and mosaic tiles, each method allows you to express your individuality and creativity.
In this post, we are going to deep into creative ways to transform ordinary picture frames into stunning works of art that beautifully personalize your picture frame which complement your interior design.
Creative ways to personalize your picture frame
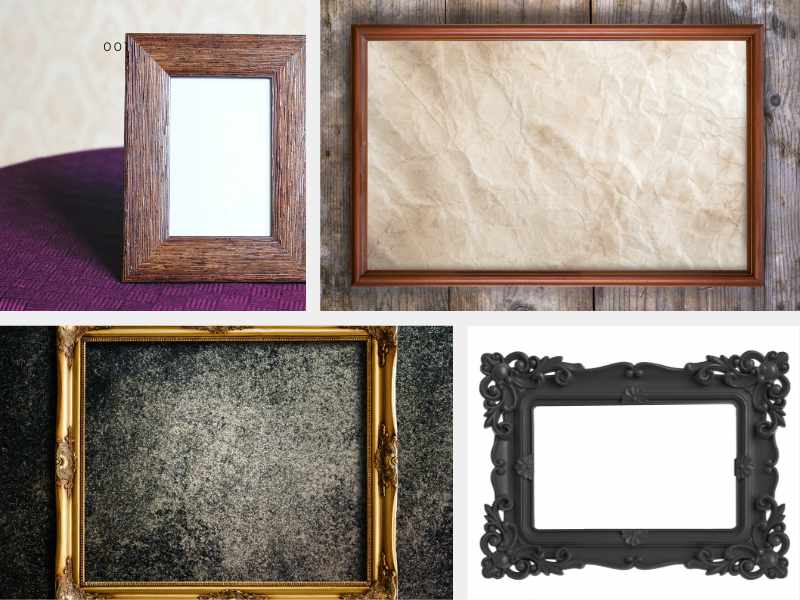
1. Paint It
 • Choose acrylic paint in your favorite colors.
• Use painter’s tape to create stripes or geometric designs.
• Apply a base coat, let it dry, and then add your designs.
• For a distressed look, sand the edge lightly after painting.
2. Decals
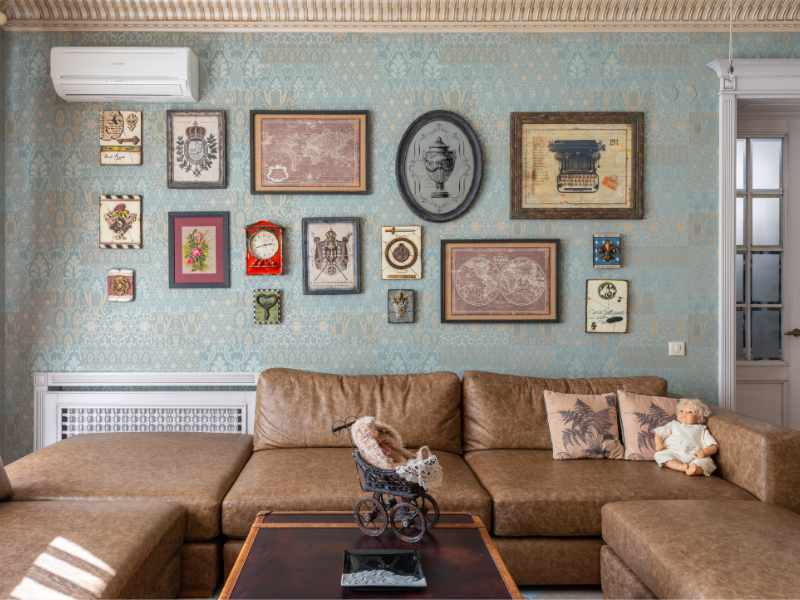 • Purchase decorative decals or sticker from a craft store.
• Clean the frame surface to ensure they stick well.
• Arrange the decals on the frame before sticking them down to find the best layout.
• Peel off the backing and press firmly to attach.
3. Wrap It in Fabric
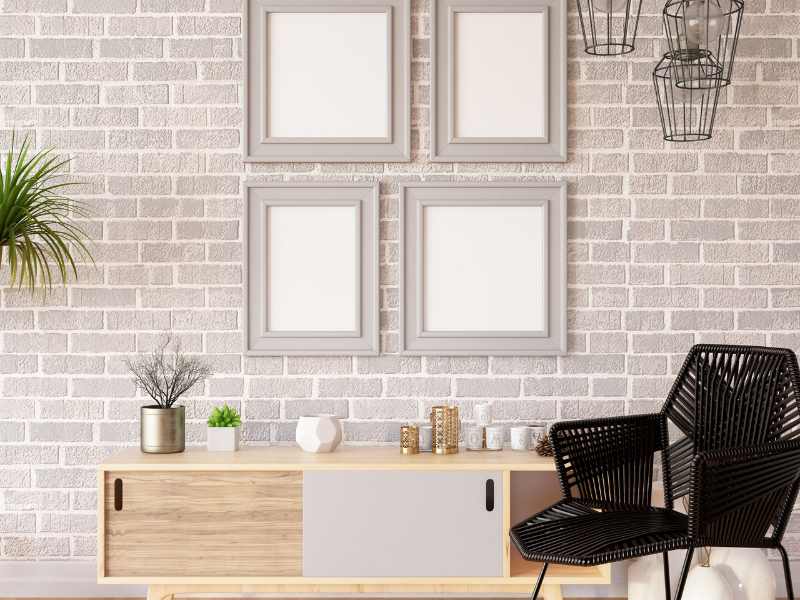 • Select a fabric that complements your decor.
• Cut the fabric to size, allowing extra to wrap around the edges.
• Use a hot glue gun or fabric glue to attach the fabric to the frame.
• Smooth out any wrinkles and trim excess fabric.
4. Washi Tape
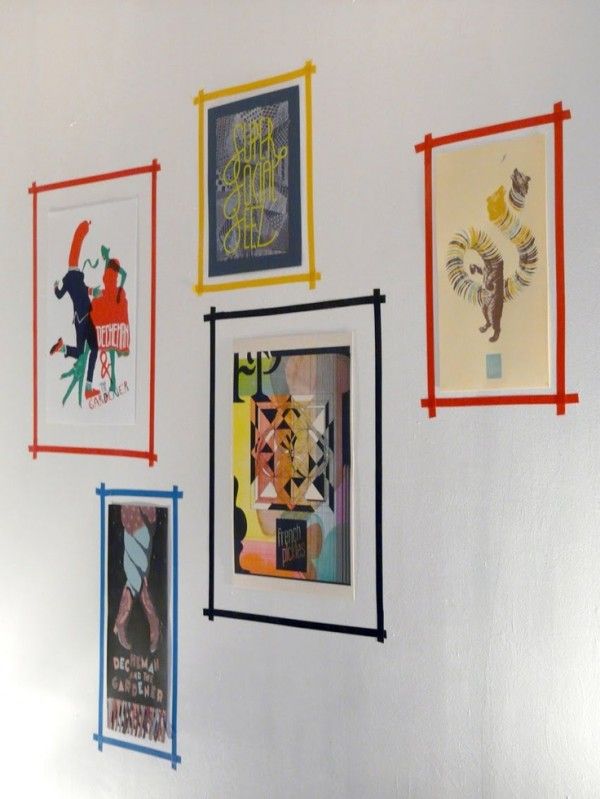
• Choose washi tape in various patterns and colors.
• Clean the frame surface for better adhesion.
• Wrap the tape around the frame in stripes, patterns, or randomly.
• Trim the ends neatly with scissors or a craft knife.
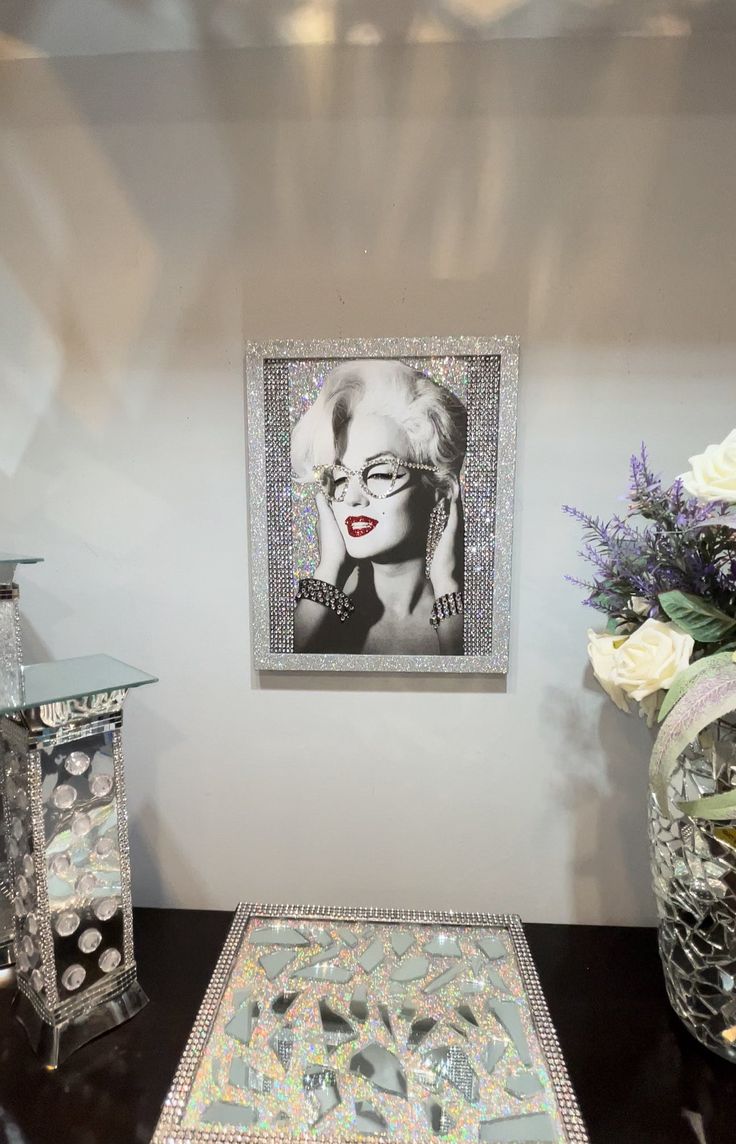
5. Glitter
• Apply a layer of glue to the frame using a brush.
• Sprinkle glitter evenly over the glue while it’s still wet.
• Shake off excess glitter and let the glue dry completely.
• Seal with a clear spray sealant to prevent glitter fallout.
6. Seashells
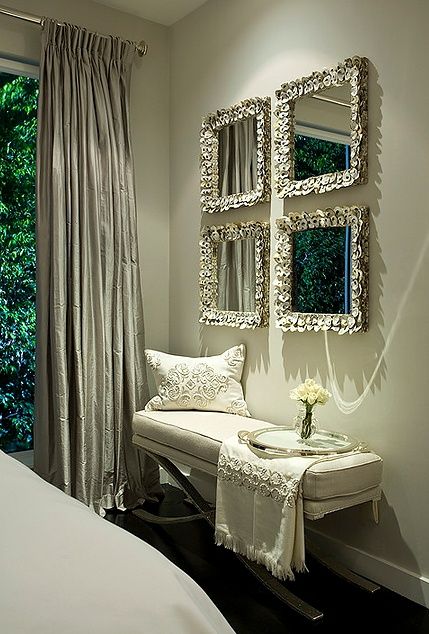
• Collect or purchase small seashells.
• Use a hot glue gun to attach the shells to the frame.
• Arrange them closely together for a full look or space them out.
• Ensure each shell is securely glued to the frame.
7. Buttons
• Gather a variety of buttons in different sizes and colors.
• Plan your design by arranging the buttons on the frame before gluing.
• Attach buttons using a hot glue gun or strong adhesive.
• Overlap buttons slightly for a layered effect.
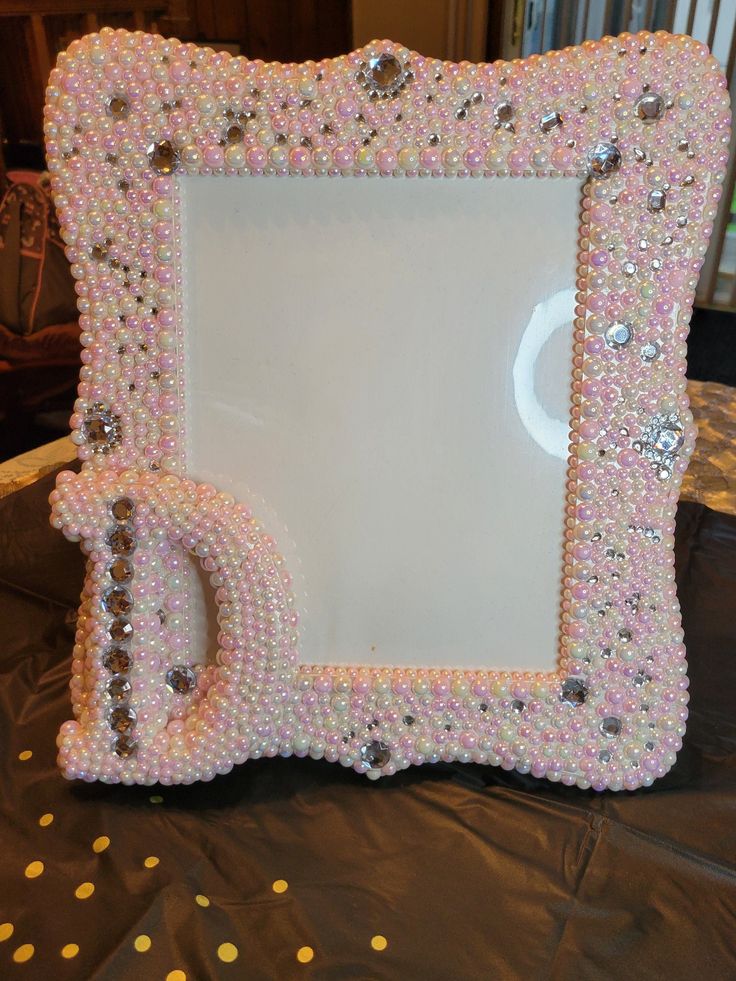
8. Beads
• Select beads that complement your frame.
• Use a hot glue gun to attach beads along the edges or in a pattern.
• Mix different shapes and sizes for a textured look.
• Allow the glue to dry completely before handling.
9. Ribbon
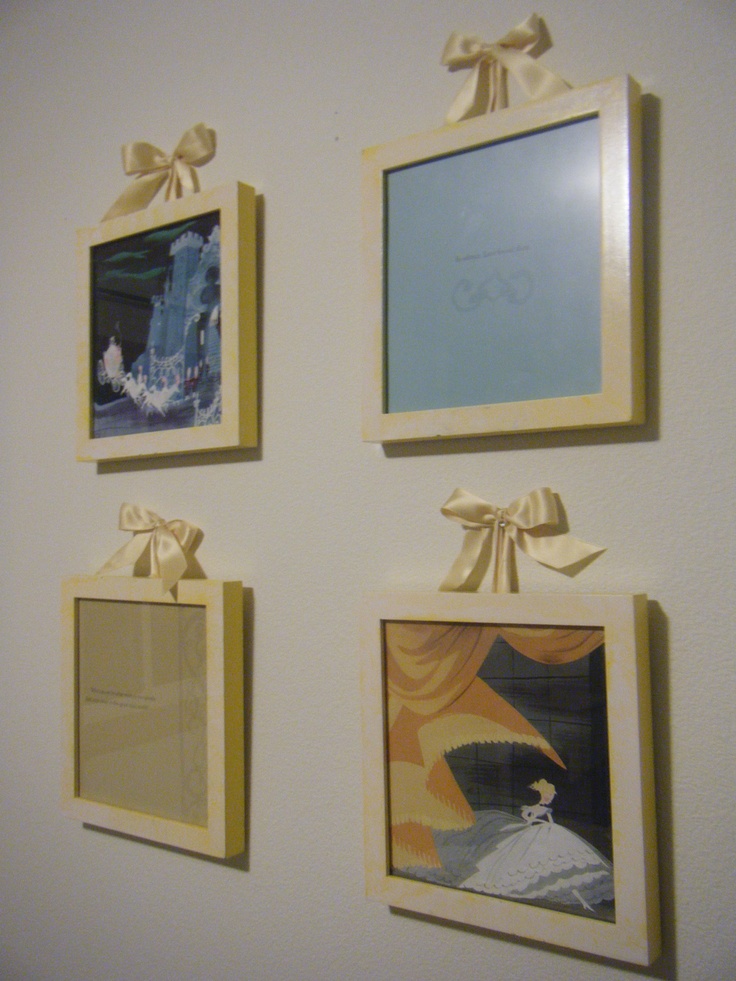 • Choose ribbon in colors and patterns you like.
• Wrap the ribbon around the frame, securing with hot glue as you go.
• Create bows or other decorative elements with the ribbon.
• Glue additional ribbon elements onto the frame as desired.
10. Incorporate Flowers
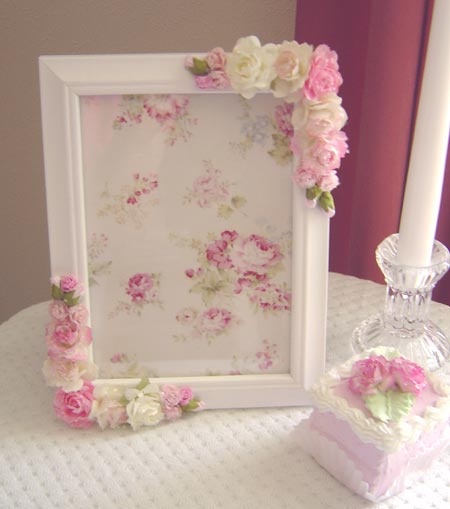
• Select artificial flowers that match your decor.
• Trim the stems and leaves as needed.
• Use a hot glue gun to attach flowers around the frame.
• Arrange flowers in clusters or evenly spaced out.
11. Scrapbook Paper
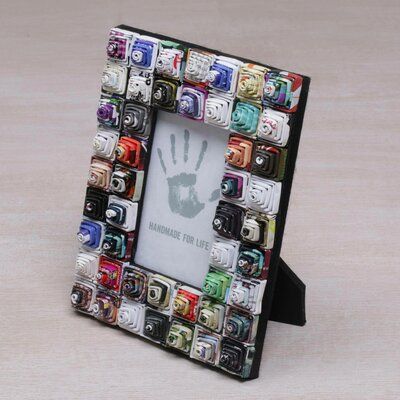
• Choose scrapbook paper in patterns and colors you like.
• Cut the paper to fit the frame.
• Apply a thin layer of mod podge or glue to the frame.
• Smooth the paper onto the frame, removing any bubbles.
•Seal with an additional layer of mod podge.
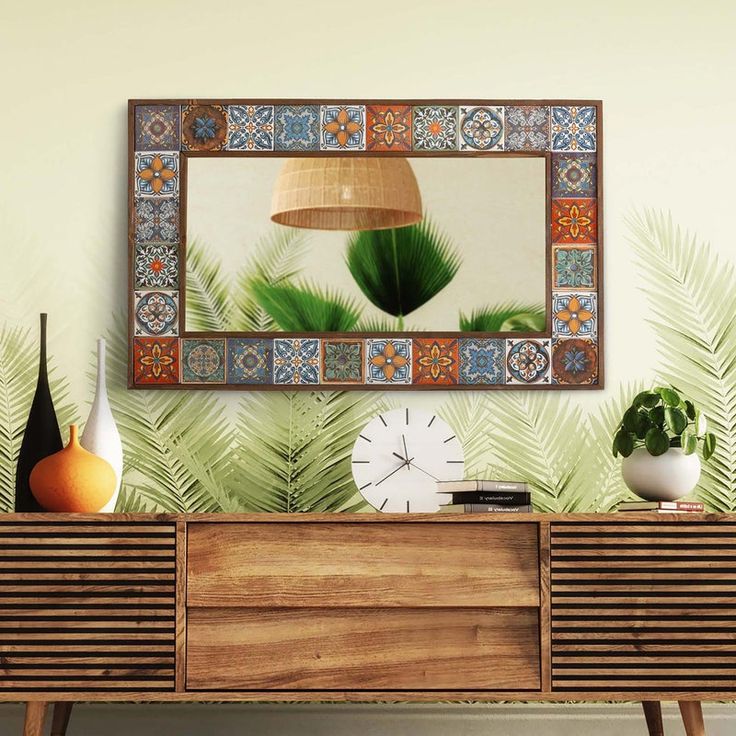
12. Mosaic Tiles
• Purchase small mosaic tiles or break larger tiles into smaller pieces.
• Plan your design by arranging the tiles on the frame.
• Attach tiles with a strong adhesive or mosaic glue.
• Fill in gaps with grout, wipe off excess, and let dry.
13. Stencils
• Choose stencils in designs that you like.
• Position the stencil on the frame and secure with painter’s tape.
• Use a sponge or brush to apply paint over the stencil.
• Carefully remove the stencil and let the paint dry.
14. Metallic Foil
• Purchase metallic foil and adhesive.
• Apply adhesive to the frame where you want the foil.
• Press the foil onto the adhesive, shiny side up.
• Rub gently and peel away the backing to reveal the foil design.
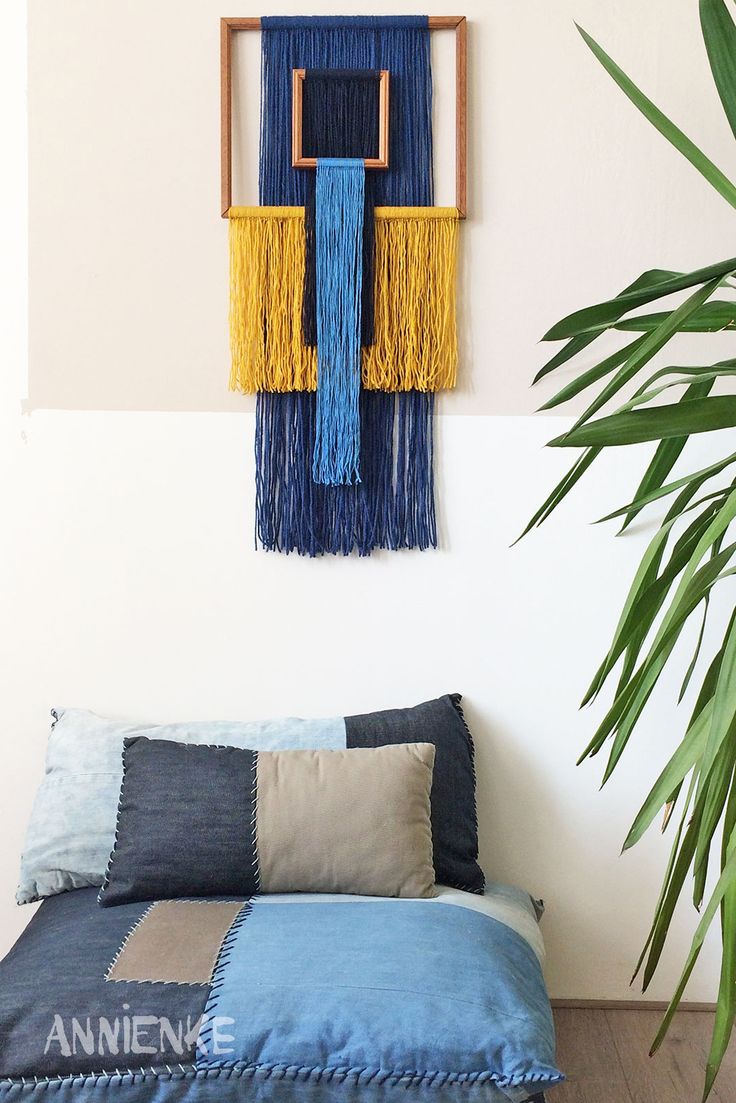
15. Decorate with Yarn
• Choose yarn in colors that match your decor.
• Wrap the yarn around the frame, securing the ends with glue.
• Create patterns by wrapping in different directions.
• Add additional yarn elements like pom-poms or tassels.
16. Cork
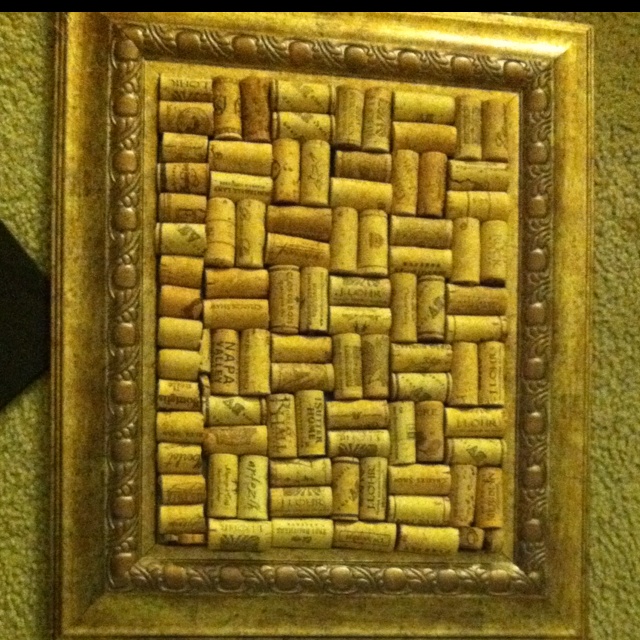
• Purchase cork sheets or cork tiles.
• Cut the cork to fit the frame.
• Glue the cork to the frame using strong adhesive.
• Use push pins to add small notes or photos.
17. Lace
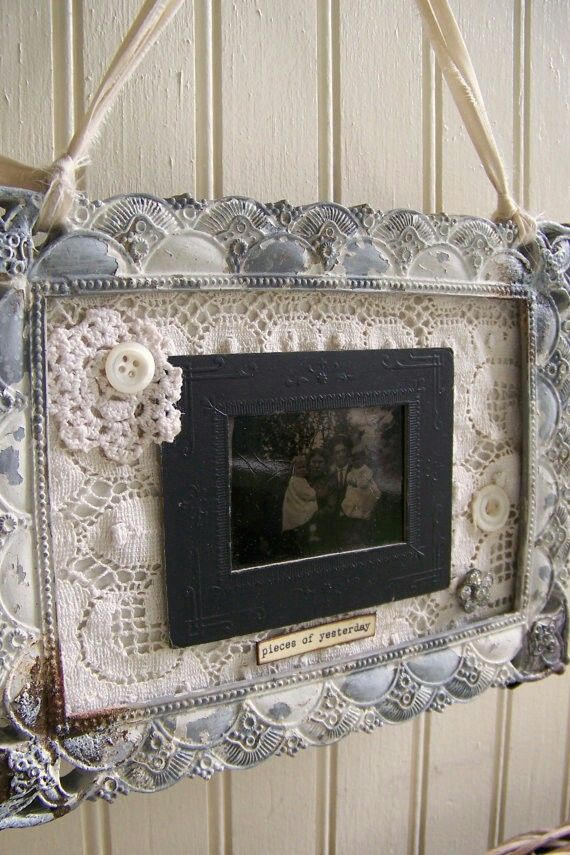
• Select lace in a pattern you like.
• Cut the lace to fit the frame.
• Use fabric glue or a hot glue gun to attach the lace.
• Add additional lace elements for a layered look.
18. Twine
• Choose natural or colored twine.
• Wrap the twine around the frame and secure with glue.
• Create patterns by wrapping in different directions.
• Add decorative elements like small wooden shapes.
19. Driftwood
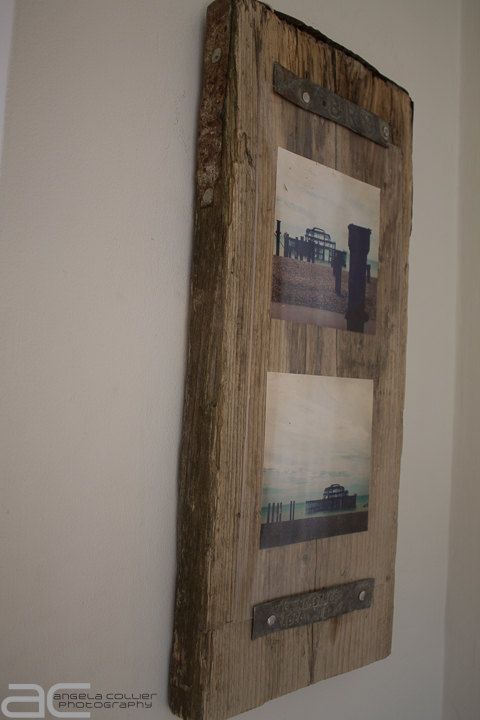
• Collect small pieces of driftwood.
• Arrange the driftwood on the frame to find the best layout.
• Use a hot glue gun to attach the driftwood.
•Ensure each piece is securely glued to the frame.
20. Scrabble Tiles
• Purchase or repurpose scrabble tiles.
• Spell out words, names or phrases with the tiles.
• Arrange the tiles on the frame to find the best layout.
• Use a strong adhesive to attach the tiles.
21. Map Pieces
• Select maps that are meaningful to you.
• Cut the map to fit the frame or in small pieces for a collage.
• Apply a thin layer of mod podge or glue to the frame.
• Smooth the map pieces onto the frame, removing bubbles.
• Seal with an additional layer of mod podge.
22. Pebbles
• Collect small pebbles or purchase them from a craft store.
• Arrange the pebbles on the frame to find the best layout.
• Use a strong adhesive to attach the pebbles.
• Allow the glue to dry completely before handling.
23. Mirrors
• Purchase small mirror tiles or shapes.
• Arrange the mirrors on the frame to find the best layout.
• Use a strong adhesive to attach the mirrors.
• Ensure each mirror is securely glued to the frames that reflect your style and creativity.
This post walked you through 23 amazing ways to beautifully personalize your picture frame.
