In this post, we will look at 15 Steps to making a terrarium.
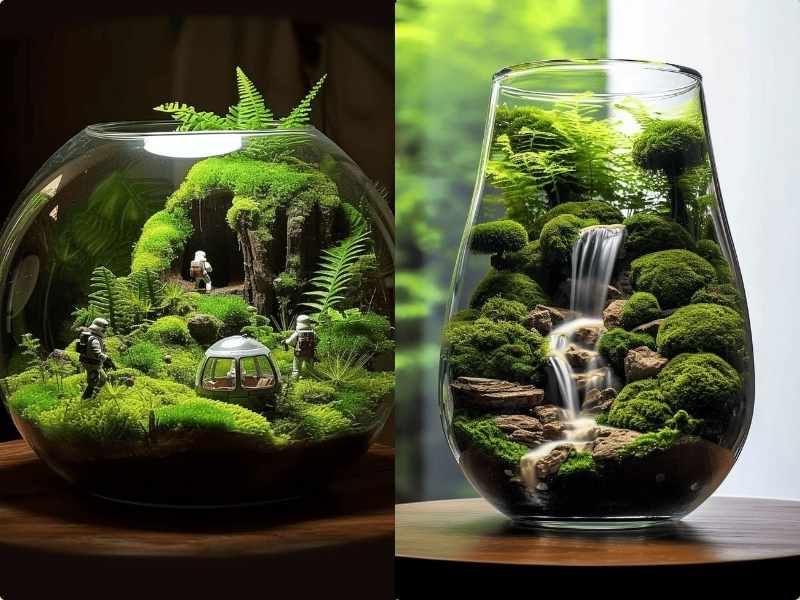
Terrariums are a delightful way to bring a touch of nature indoors, offering a miniature, self-contained garden that can thrive in almost any environment.
If you are a seasoned gardener or a novice looking to explore the world of indoor gardening, creating a terrarium is a fun and rewarding project.
These charming glass gardens can be customized to suit your style and preferences, providing a perfect blend of beauty and functionality.
In this post, we will walk you through the steps to create your own terrarium, transforming simple materials into a vibrant and low-maintenance ecosystem that will enhance your living space and bring a bit of the outdoors inside.
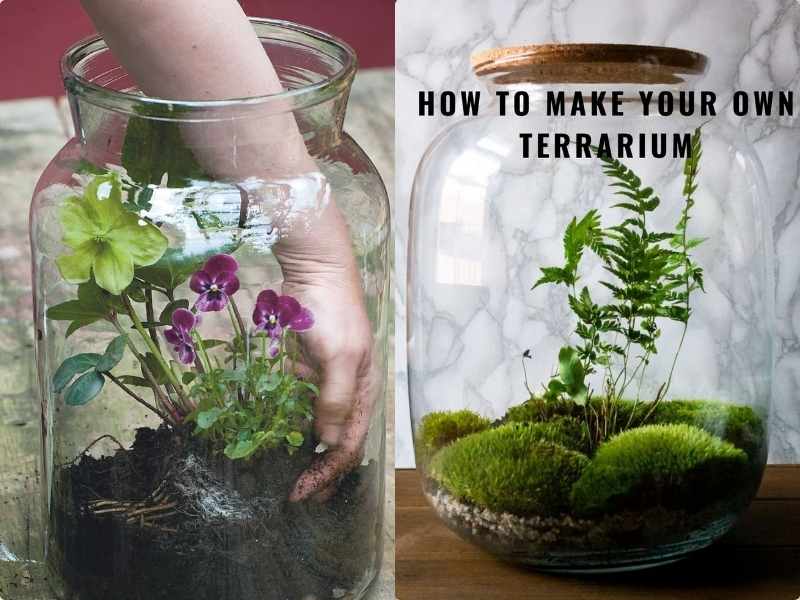
How to Make a Terrarium in 15 Steps
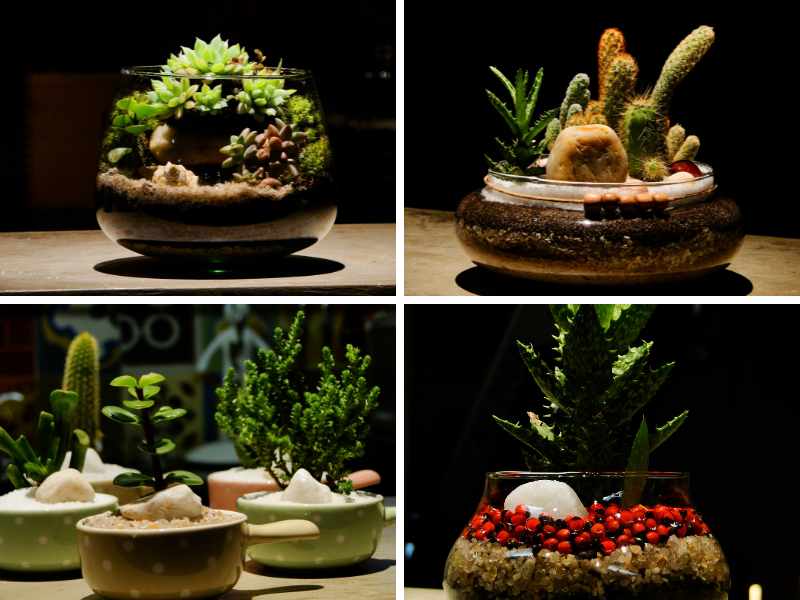
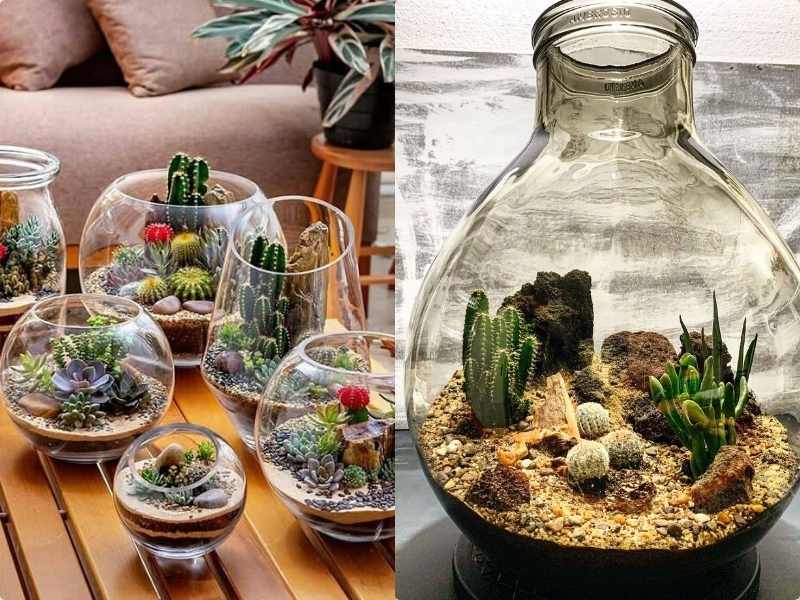
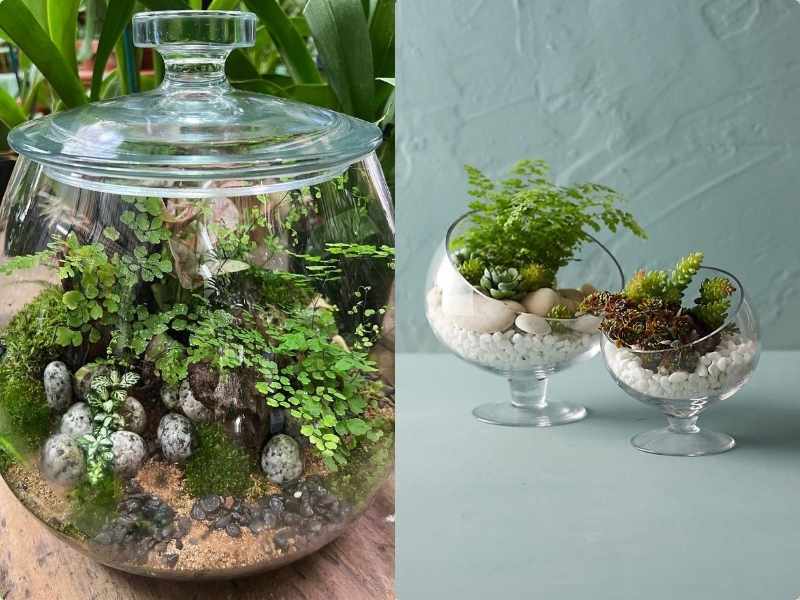
1. Choose Your Container:
 Select a clear glass container. It can be open or closed, depending on the types of plants you intend to grow.
2. Clean the Container:
 Ensure your container is clean and dry to prevent mold and other issues.
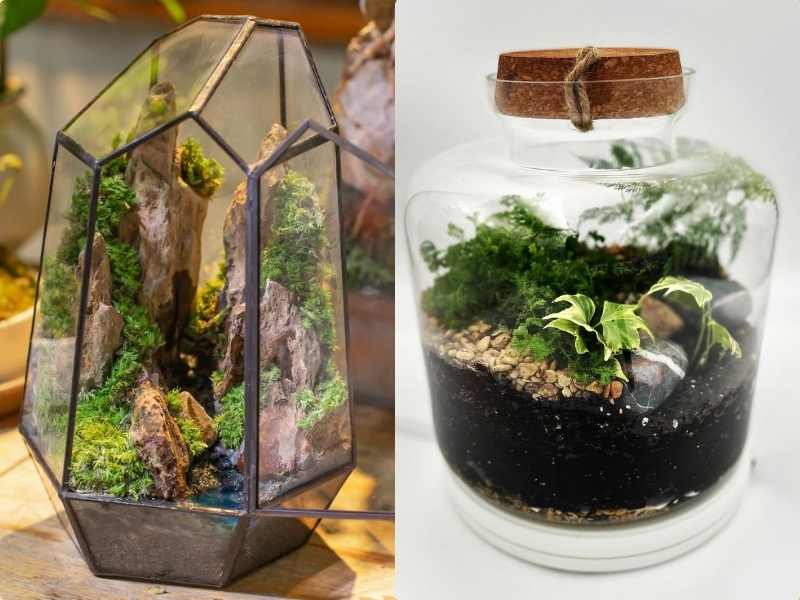
3. Add Drainage Layers:
 Begin with a layer of small rocks or pebbles at the bottom of the container to provide drainage.
4. Add Activated Charcoal:
 Place a thin layer of activated charcoal over the rocks to help with filtration and prevent odors.
5. Add a Barrier Layer:
 Use a layer of sphagnum moss or a piece of landscape fabric to separate the drainage materials from the soil.
6. Add Potting Soil:
 Add a layer of potting soil that is appropriate for the types of plants you will use. Typically, a depth of 2-3 inches is sufficient.
7. Plan Your Design:
 Before planting, plan the layout of your plants. Consider their growth habits and light requirements.
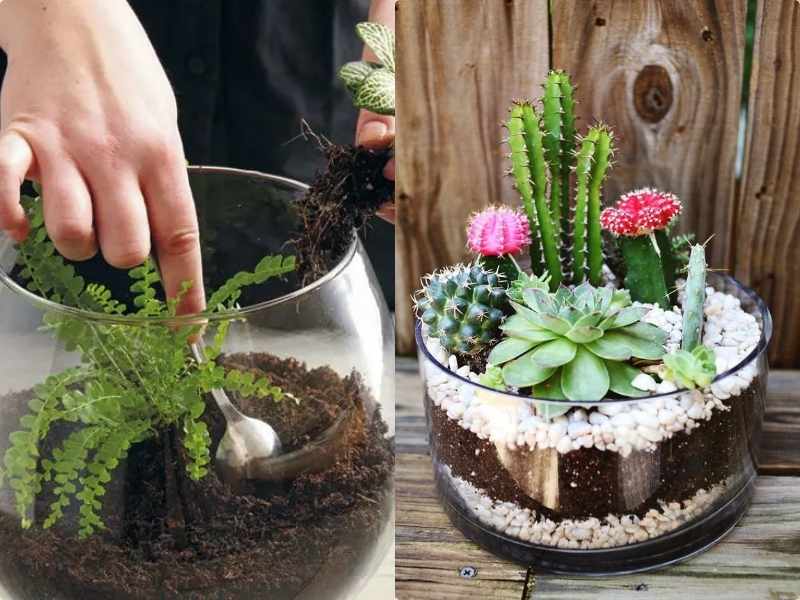
8. Prepare the Plants:
 Remove the plants from their pots and gently shake off excess soil from the roots. Trim any damaged roots.
9. Plant Your Terrarium:
 Start with the largest plants first, placing them in the soil according to your design plan. Then, add the smaller plants.
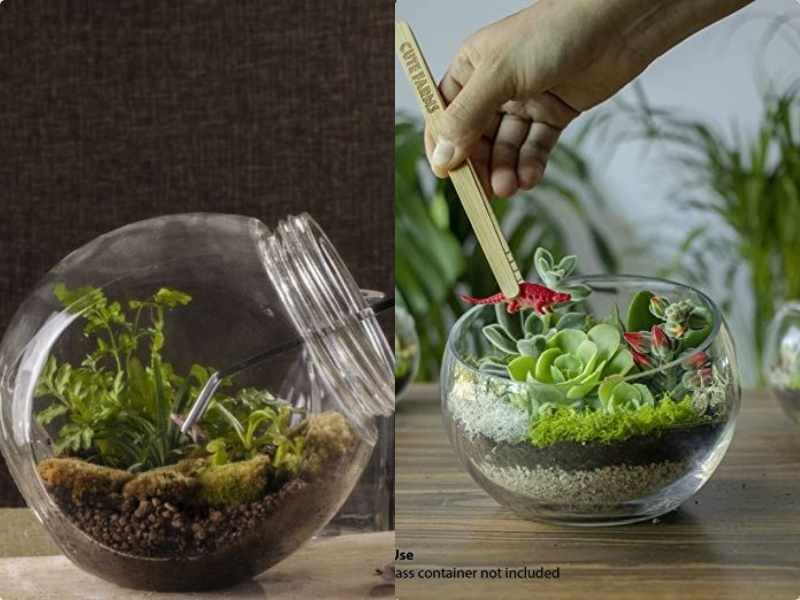
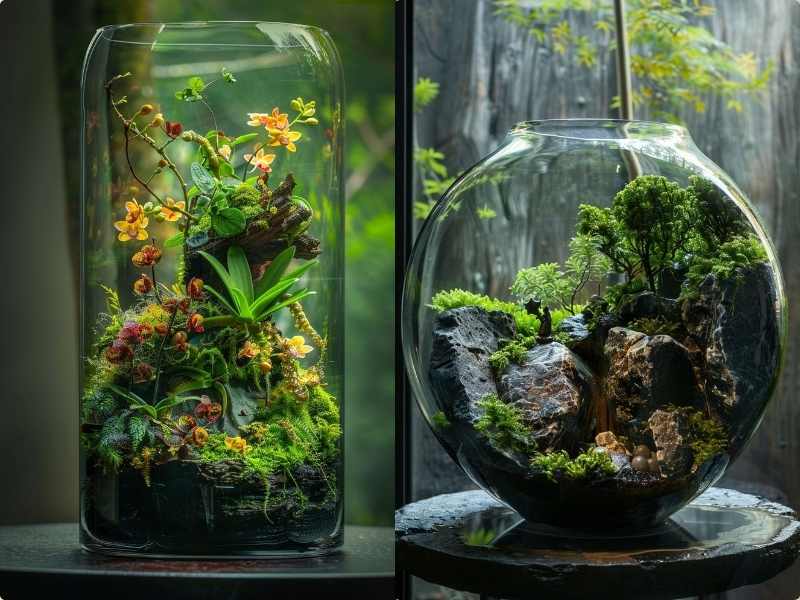
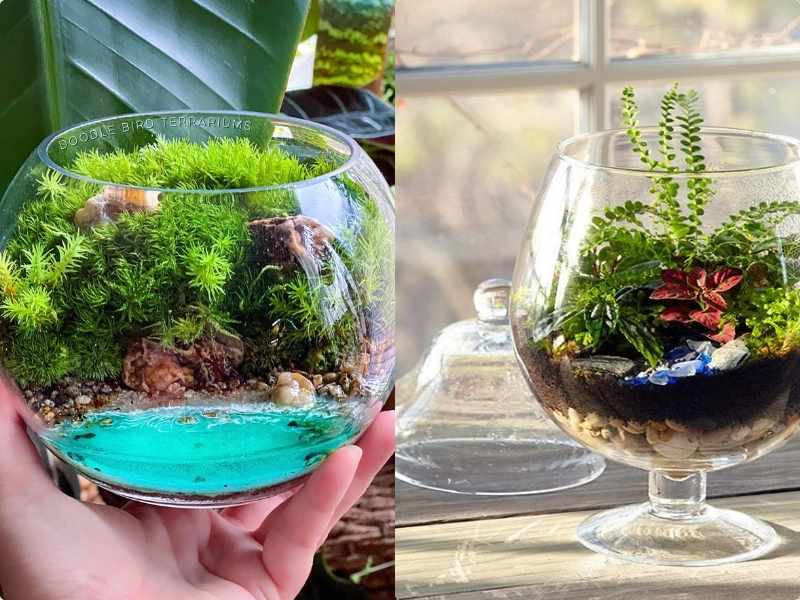
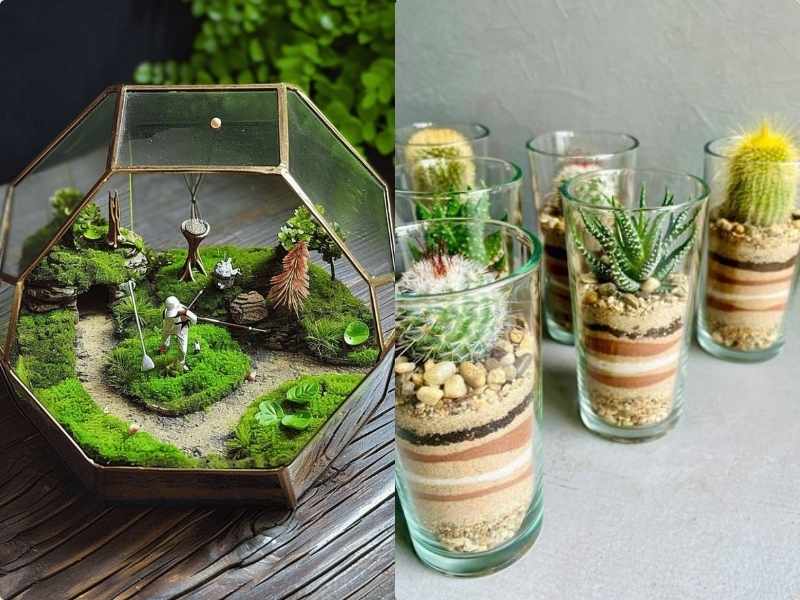
10. Add Decorative Elements:
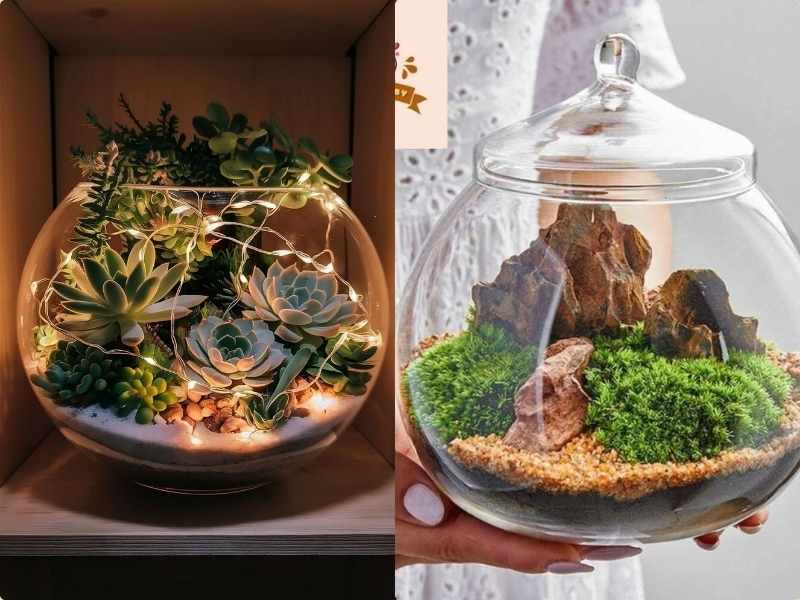 If desired, add decorative elements like rocks, figurines, or moss to enhance the terrarium’s appearance.
11. Water the Plants:
 Lightly water the plants. Be careful not to overwater; terrariums do not have drainage holes.
12. Clean the Glass:
 Wipe down the inside of the glass to remove any dirt or smudges.
13. Place the Terrarium:
 Place your terrarium in a location where it will receive appropriate light. Most terrarium plants prefer indirect light.
14. Monitor and Maintain:
 Check the terrarium regularly for signs of overwatering, mold, or plant health issues. Remove any dead or yellowing leaves.
15. Enjoy Your Terrarium:
 Enjoy your new mini-garden! With proper care, your terrarium can thrive and bring a touch of greenery to your space.
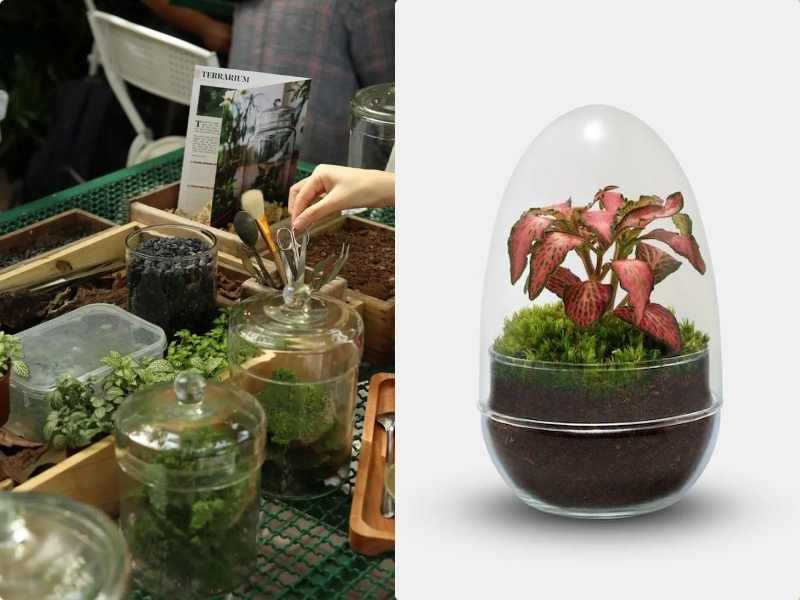
Gathering the Essentials
Before I even touched a single pebble, I realized that making a terrarium is not just a craft, it’s like curating a tiny world. And like any world builder, I needed the right tools and materials to bring my vision to life. So I set out on a little adventure to gather everything my miniature garden would need.
First came the container. I rummaged through my kitchen cabinets and found a clear glass jar with a wide mouth perfect for easy access and visibility. But honestly, anything transparent works like old fish bowls, mason jars, even those leftover candle holders you swore you would reuse someday. Just make sure the opening is wide enough to fit your hand through, especially if you are not using tools.
Materials to build the foundation. I picked up a small bag of drainage rocks, tiny pebbles that prevent water from pooling at the bottom and causing root rot. I layered them in first to act as the terrarium’s drainage system. Right after that, I added a thin layer of activated charcoal, which I found in the aquarium section of a pet store. It may not look like much, but it’s the secret hero that keeps your terrarium fresh and odor free by absorbing toxins and mold.
Then came the potting soil. I chose a well draining indoor mix since I planned on using succulents. If you are more into moss or ferns, you might want something more moisture and retentive. Either way, make sure it suits the plants you are working with and also soil matters more than you think.
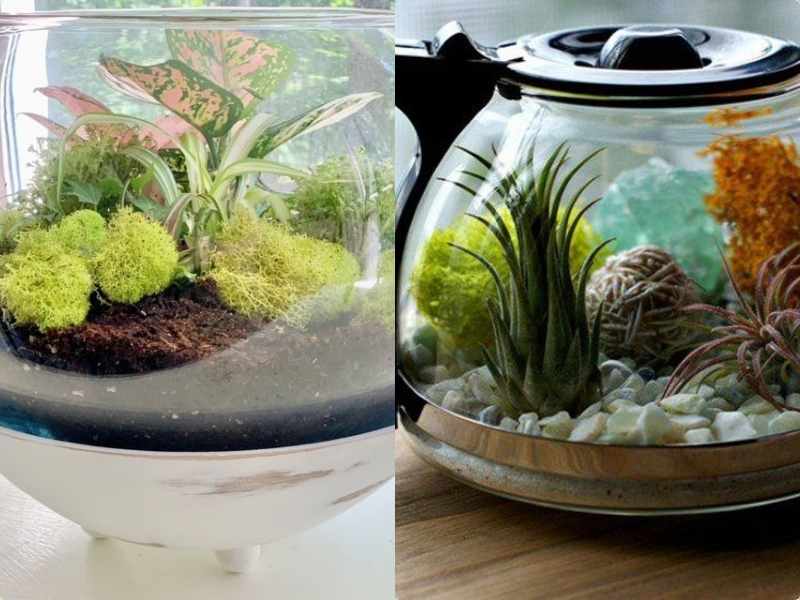
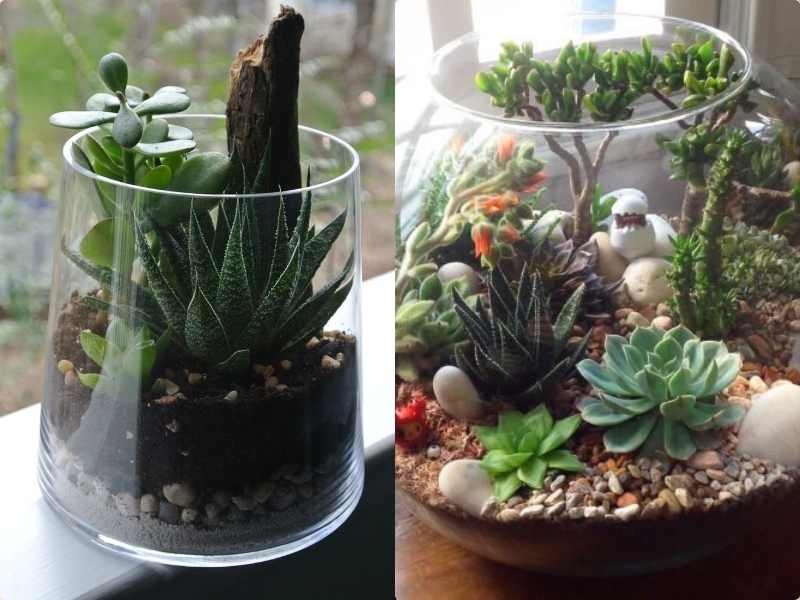
Of course, the stars of the show are the plants themselves. At the garden center, I spent way too much time admiring the tiny succulents and tropical miniatures. I eventually picked a mix of one tall echeveria for height, a string of pearls to spill over the edge, and a patch of moss for soft ground cover. If you are new to terrariums, choose plants that thrive in similar humidity and lighting conditions, it will save you headaches later.
Lastly, I couldn’t resist adding some personal flair. I grabbed a few decorative pebbles, a tiny ceramic mushroom, and a polished crystal to nestle between the greenery. These small touches turn your terrarium from a science project into a true work of art.
By the time I got everything together, I wasn’t just holding supplies but i was holding potential. A blank canvas, just waiting to come to life.
Planting with Intention
This is where the magic truly happens, turning layers of soil and stone into a living, breathing world. As I started placing each tiny plant into the terrarium, I realized this wasn’t just gardening but it was arranging life. I treated every plant like a character in a miniature story, giving each one space to shine.
I began with my tallest plant first, gently easing its roots into a shallow well i had scooped in the soil. Positioning it toward the back gave the entire arrangement some natural depth, almost like setting the stage for a little forest scene. Then came the smaller ones, succulents with plump, textured leaves, a trailing sprig of baby’s tears, and a soft patch of moss. I made sure to leave a little breathing room between each plant. They might be small now, but they will grow and overcrowding in a terrarium can and quickly turn into a jungle gone wrong.
What surprised me most was how calming the process felt. Tucking the moss around the base of each plant, patting the soil gently into place, and making slight adjustments to create balance, it was like sculpting a tiny landscape. I even added a few miniature stones and a tiny ceramic fox I found at a craft store. It brought a touch of whimsy and made the whole thing feel personal.
If there is one thing I have learned during this step, it’s that plant placement is not just about looks, it’s about harmony. Some plants need a bit more light, others prefer shade. By placing them with care, you are not just designing a terrarium, you’re setting them up to thrive.
Similar post